
Technique · Updated
A DIY MIDI controller without soldering: use a gamepad
Short answer
The quickest DIY MIDI controller is a gamepad plus mapping software. Connect a PS5, PS4 or Xbox controller, run PadMap, and assign each button to a MIDI note and each trigger or stick to a MIDI CC. Your DAW sees it as a normal MIDI controller. No soldering, no code.
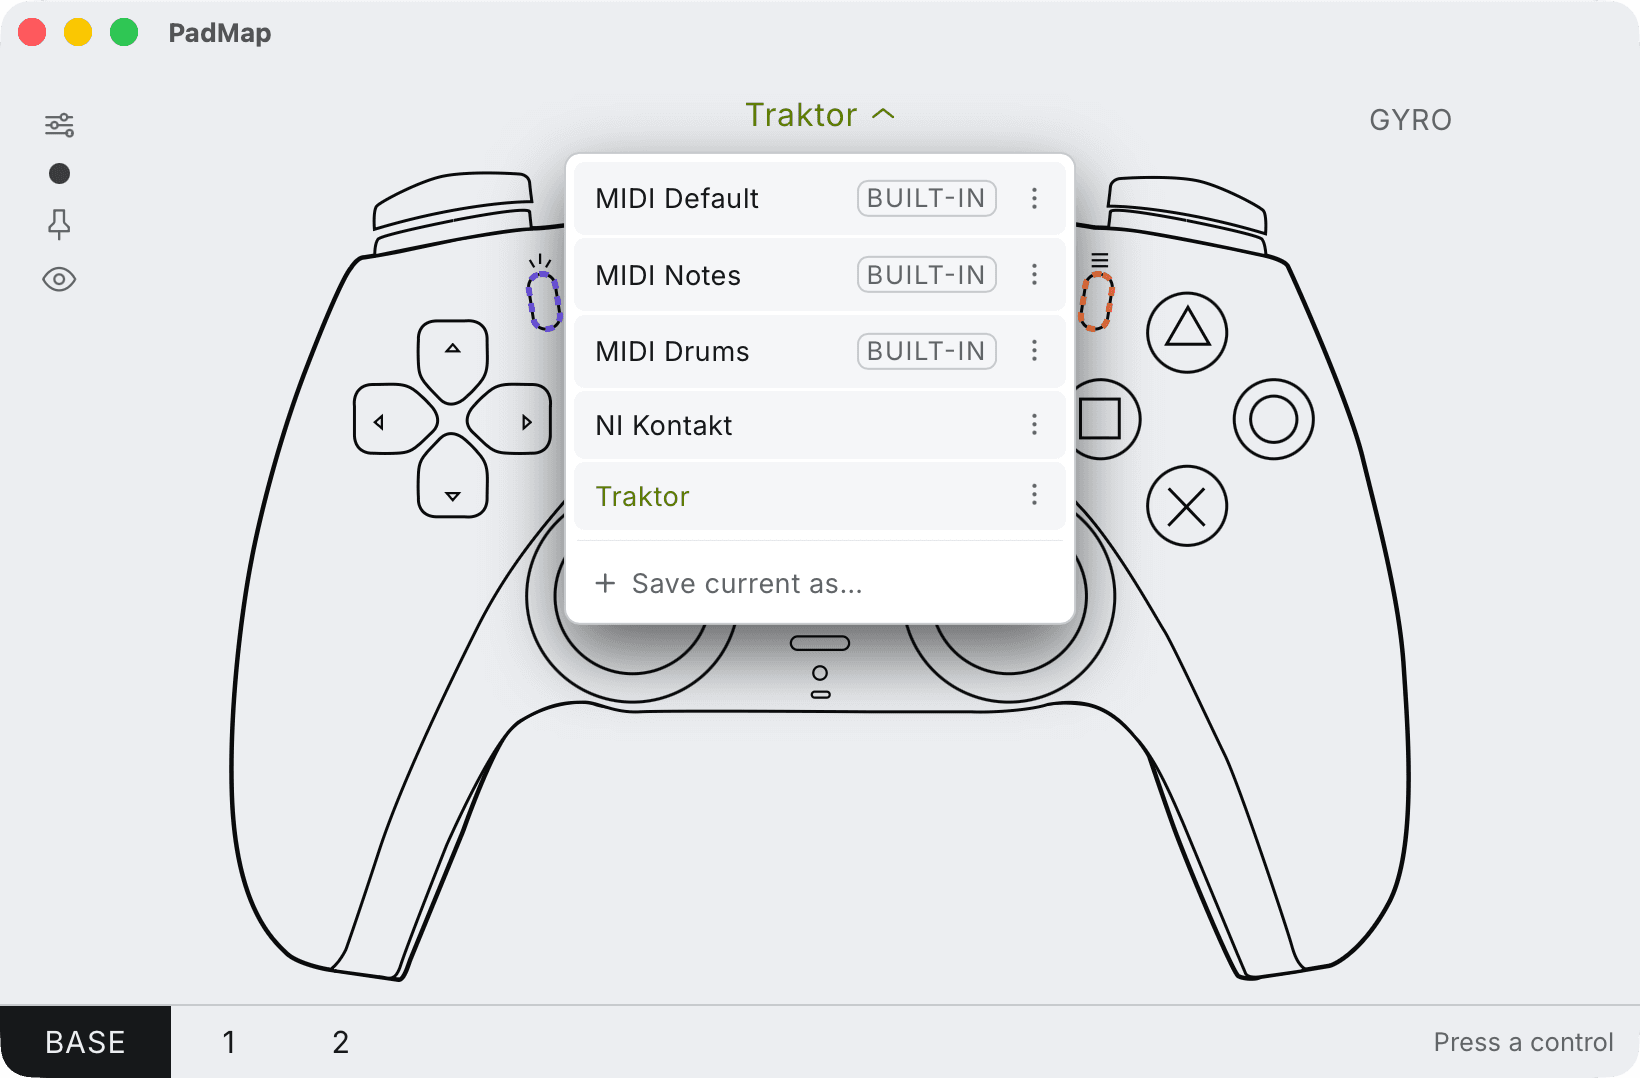
Build it in four steps
- 1
Pick the controller
Any PlayStation or Xbox pad works. A PS5 DualSense or PS4 DualShock 4 adds motion sensors; an Xbox controller is the simplest to connect on Windows. Use the one in your drawer. - 2
Connect it and open PadMap
Plug it in over USB or pair it over Bluetooth, then open PadMap. On macOS PadMap creates its own MIDI port. On Windows it sends through a free loopMIDI port. - 3
Design the layout
This is the part that makes it yours. Decide what each control sends: notes for things you hit, CC for things you move. Start with the table below and change it as you play. - 4
Map it in your DAW
Enable the PadMap input in your DAW and use MIDI learn to attach each CC to a parameter. Step-by-step guides: Ableton Live, FL Studio, Logic Pro, Bitwig Studio and REAPER.
What a gamepad gives you as controller parts
Think of the pad as a parts kit that is already assembled:
| Part on the pad | The DIY part it replaces |
|---|---|
| Face buttons and D-pad (8) | Eight momentary buttons: drum pads, clip launchers, toggles. |
| Two analog triggers | Two spring-return faders or expression pedals. They rest at zero. |
| Two thumbsticks | Two joysticks, each an XY pad with two CCs. See the XY pad guide. |
| Shoulder buttons | Shift keys. Hold one to switch the whole pad to another layer. |
| Motion sensors (PS4 / PS5) | A tilt sensor: steer a parameter by moving the controller. |
| Bluetooth | A wireless link, with no radio module to wire up. |
More on the sticks in the XY pad guide, and on motion in the gyro guide.
Gamepad or microcontroller build?
Both are real DIY. They suit different goals:
- Build from a microcontroller if the build is the point, or you need parts a gamepad doesn't have: long-throw faders, endless encoders, a row of sixteen pads, a custom panel.
- Use a gamepad if you want to be playing today, want something wireless and sturdy, or are still finding out which controls you actually use. You can change the whole layout in software, which a soldered panel can't do.
Plenty of people start with a pad to learn what they need, then build hardware for the two or three controls they miss.
Make one pad do several jobs
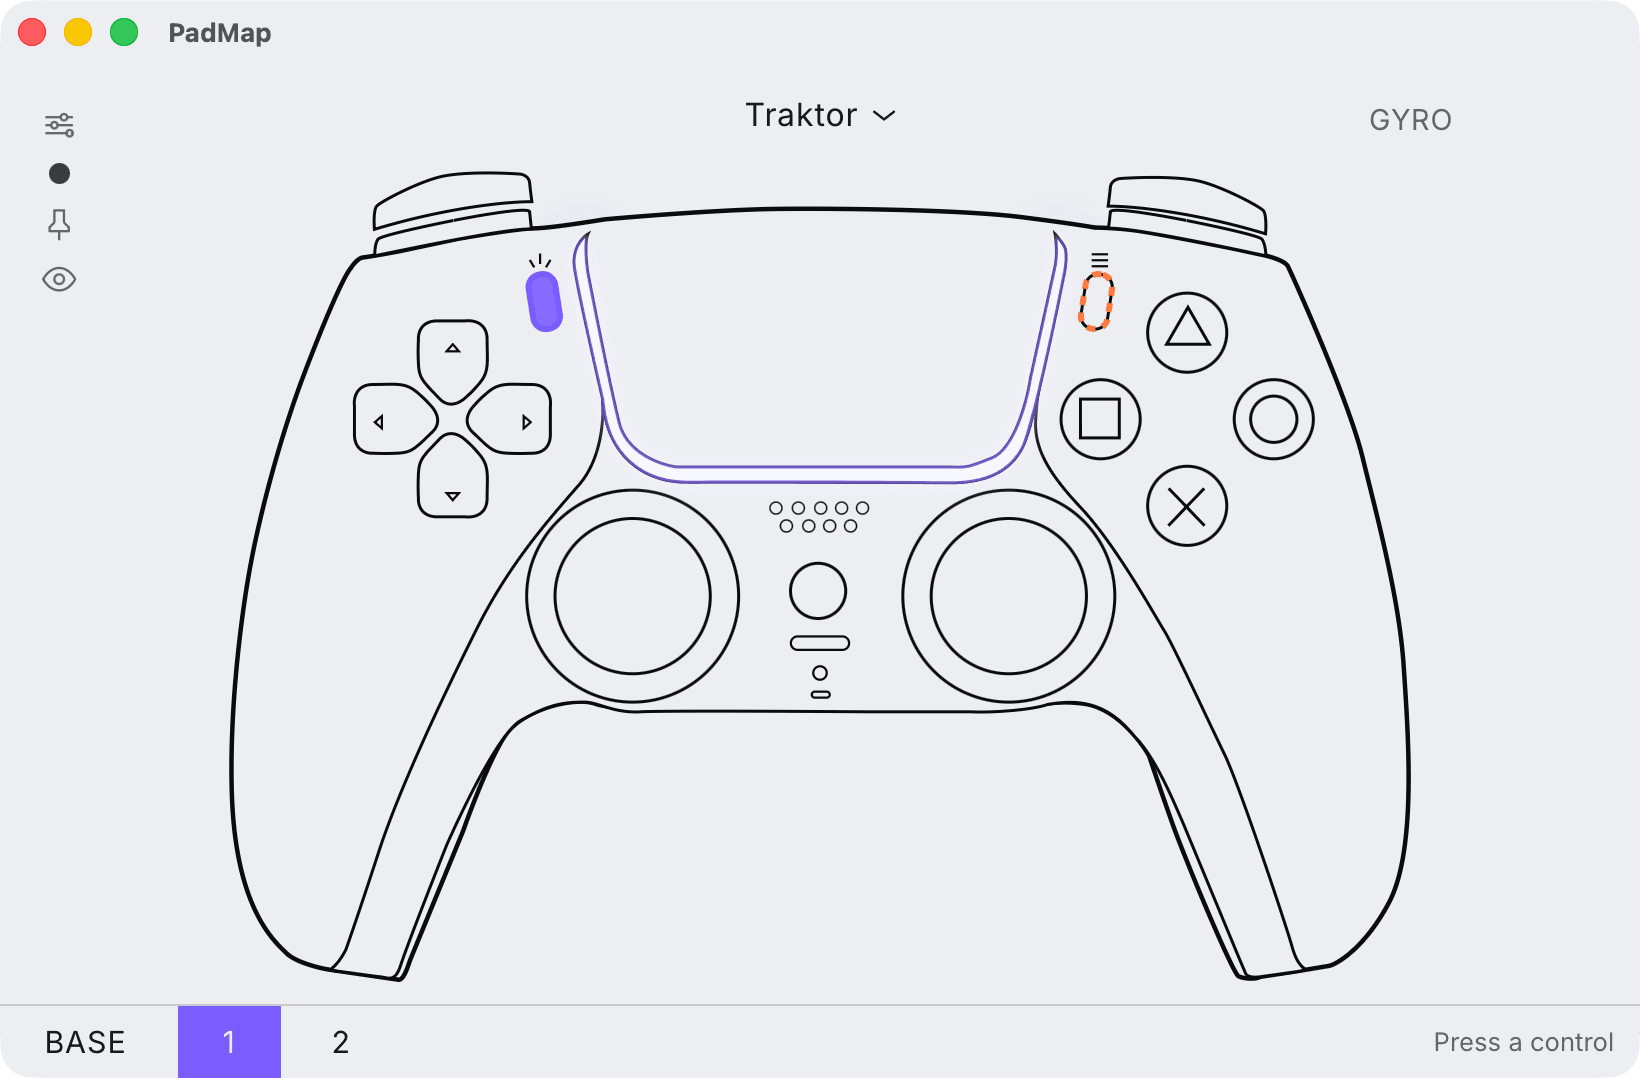
A hardware build has as many controls as you soldered. In PadMap you can stack mapping layers and set any control as a modifier: while it is held, every other control sends a different note or CC. Eight buttons become sixteen or twenty-four.
Each layer sends its own MIDI messages, so your DAW's MIDI learn treats them as separate controls.
What it costs and where it stops
- Cost. The controller you own, plus PadMap. PadMap has a free trial (the full app, 25 minutes per session), so you can build and test a layout before paying.
- No pressure sensing. Face buttons are on or off. For dynamics, use a trigger, which is analog.
- No faders that stay put. Sticks and triggers spring back. That suits sweeps and throws; for a level you set and leave, use your mouse or a fader box.
Written by Oskar Schachtschneider, who builds PadMap at Sinuslabs.