
DAW setup · Updated
How to use an Xbox or PS5 controller as a MIDI controller in FL Studio
Short answer
Run PadMap, open Options → MIDI settings (F10), select the PadMap input, set Controller type to (generic controller) and click Enable. Right-click any knob, choose Link to controller and move a stick or trigger. Buttons mapped to notes play the selected channel or FPC pads.
Connect a gamepad to FL Studio
- 1
Connect the controller and open PadMap
Connect the pad over USB or Bluetooth and open PadMap. On Windows, PadMap sends its MIDI through a free loopMIDI port: create a port called PadMap in loopMIDI and pick it in PadMap's MIDI dropdown — our loopMIDI guide walks through it. On macOS the port appears by itself as PadMap Out, so you can skip loopMIDI. Either way, open PadMap before FL Studio so the port is there when FL looks for devices.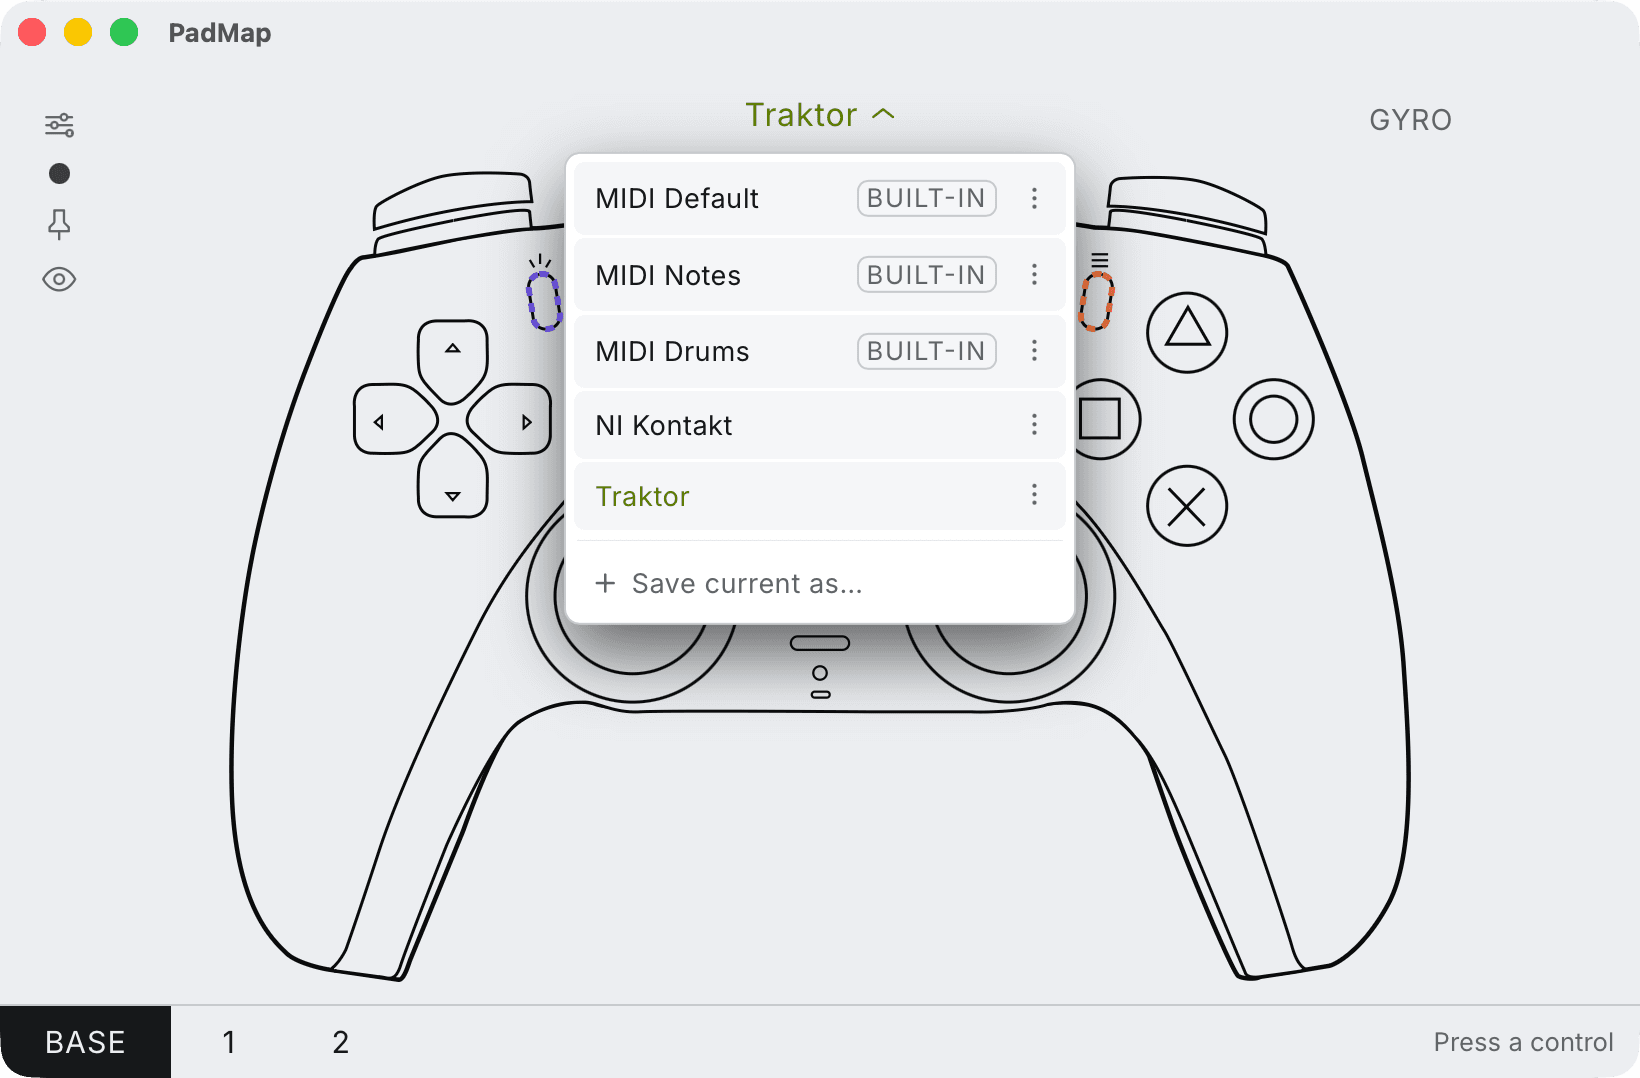
Built-in presets — MIDI Default, Notes and Drums — plus your own, saved with Save current as. - 2
Turn on the PadMap input in MIDI settings
In FL Studio, choose Options → MIDI settings or press F10. In the Input list, click the PadMap port (PadMap Out on macOS) — on Windows that's the loopMIDI port, listed under the name you gave it. Set Controller type to (generic controller) and click Enable. Now move a stick: the MIDI activity light on FL's main panel blinks each time data arrives. If PadMap isn't in the list, click Refresh device list. - 3
Play the selected channel or FPC pads
FL Studio listens on all MIDI channels and sends incoming notes to whichever channel is selected in the Channel Rack, so a face button mapped to a note plays that instrument straight away. For drums, add FPC and select its channel. Click a pad, left-click its Play Key box, choose Learn and press the button you want on that pad. Map notes for entire bank does all 16 pads in one pass, starting with Pad 1 at the lower left. - 4
Link sticks and triggers to knobs
Right-click any FL Studio knob or slider — a mixer fader, a channel's volume, a native plugin's cutoff — and choose Link to controller. The Remote control settings window opens; move the stick or trigger you want on it. With Auto accept controller ticked in MIDI settings, the window closes as soon as FL hears the control. Third-party VST and AU plugins need Multilink instead, covered below.
What each control is good for in FL Studio
Sticks, triggers and buttons move in different ways, so give each one a job that suits how it moves:
| Control | Works well for |
|---|---|
| Left / right stick | Two knobs per stick: X on a filter's cutoff, Y on its resonance. A stick springs back to centre when you let go, so use it for moves that should land on the same point every time. |
| L2 / R2 triggers (LT / RT) | Anything that should sit at zero until you pull: a mixer send into a reverb or delay track, an effect slot's mix knob, a filter opening up from closed. |
| Face buttons | Notes for FPC pads, or for the instrument in the selected Channel Rack channel. |
| D-pad and shoulder buttons | On/off moves. Set a button to send CC in PadMap, link it to an effect slot's mix knob with the Switch mapping formula, and the effect cuts in only while you hold the button. |
Link to controller or Multilink?
FL Studio has two ways to connect a control, and each suits a different job:
- Link to controller (right-click a knob) makes one link at a time and opens Remote control settings, where you pick a mapping formula and smoothing. Use it for FL Studio's own controls and native plugins.
- Multilink controllers links several at once. Click its switch (or press Ctrl + J), move the on-screen knobs in the order you want, then move the sticks and triggers in the same order. FL pairs them up and ends the process once the counts match. It's also the way into VST and AU plugins: turn on Multilink and move the plugin's knob, or touch the knob and choose Tools → Last tweaked → Link to controller.
Links made either way are saved with the project. To keep a link in every project, turn on Multilink, move the target, then right-click the Multilink switch and choose Override global links before you move the stick. FL Studio tells controls apart by CC number and MIDI channel, so if you later change what a stick sends in PadMap, link it again.
Stop the sticks fighting you: Pickup and mapping formulas
A stick rests in the middle, and a linked knob follows it there as soon as you nudge it. Three settings decide how that feels:
- Pickup (takeover mode) in MIDI settings makes a linked knob ignore the controller until it passes the knob's current value. That's handy for real knobs, but on a snap-back sweep the first push can do nothing, so leave it off if you mostly use sticks.
- The Mapping formula menu in Remote control settings reshapes the throw. First half and Last half squeeze the stick into 0–50% or 50–100% of the knob, and Inverted flips an axis that moves the wrong way. You can also type a formula: Input*0.5+0.25 keeps a stick between 25% and 75%, and (Max(Input,0.5)-Min(Input,0.5))*2 reads zero at centre and full at either end, so the stick acts like a trigger in both directions.
- Smoothing in the same window rounds off fast moves, which helps when you record stick movements as automation.
Layers: more notes and links from one pad
PadMap lets you stack mapping layers and turn any control into a modifier that switches between them. In FL Studio that gets around two limits of a gamepad:
- Drum pads. Four face buttons and four d-pad directions give eight notes per layer, so two layers cover a full 16-pad FPC bank. Start Map notes for entire bank and press the buttons in order, holding the modifier for the second eight.
- Knobs. A second layer sends different CCs, so the same stick can sweep a filter on the base layer and ride a reverb send while you hold the modifier. Because FL Studio identifies links by CC number, each layer needs its own Link to controller pass.
Written by Oskar Schachtschneider, who builds PadMap at Sinuslabs.