
DAW setup · Updated
How to use a game controller as a MIDI controller in Ableton Live
Short answer
Run PadMap, open Live's Settings → Link, Tempo & MIDI, switch on Track and Remote for the PadMap input, then use MIDI Map Mode (Cmd/Ctrl + M) to assign sticks and triggers to any parameter. Buttons mapped to notes play Drum Racks and instruments on an armed track.
Set up your gamepad in Ableton Live
- 1
Start PadMap and connect your controller
Plug the controller in over USB or pair it over Bluetooth, then open PadMap. On macOS PadMap's MIDI port appears on its own, as PadMap Out. On Windows it sends through a free loopMIDI port — set that up first if you haven't. Start PadMap before Live so the port exists when Live scans for devices.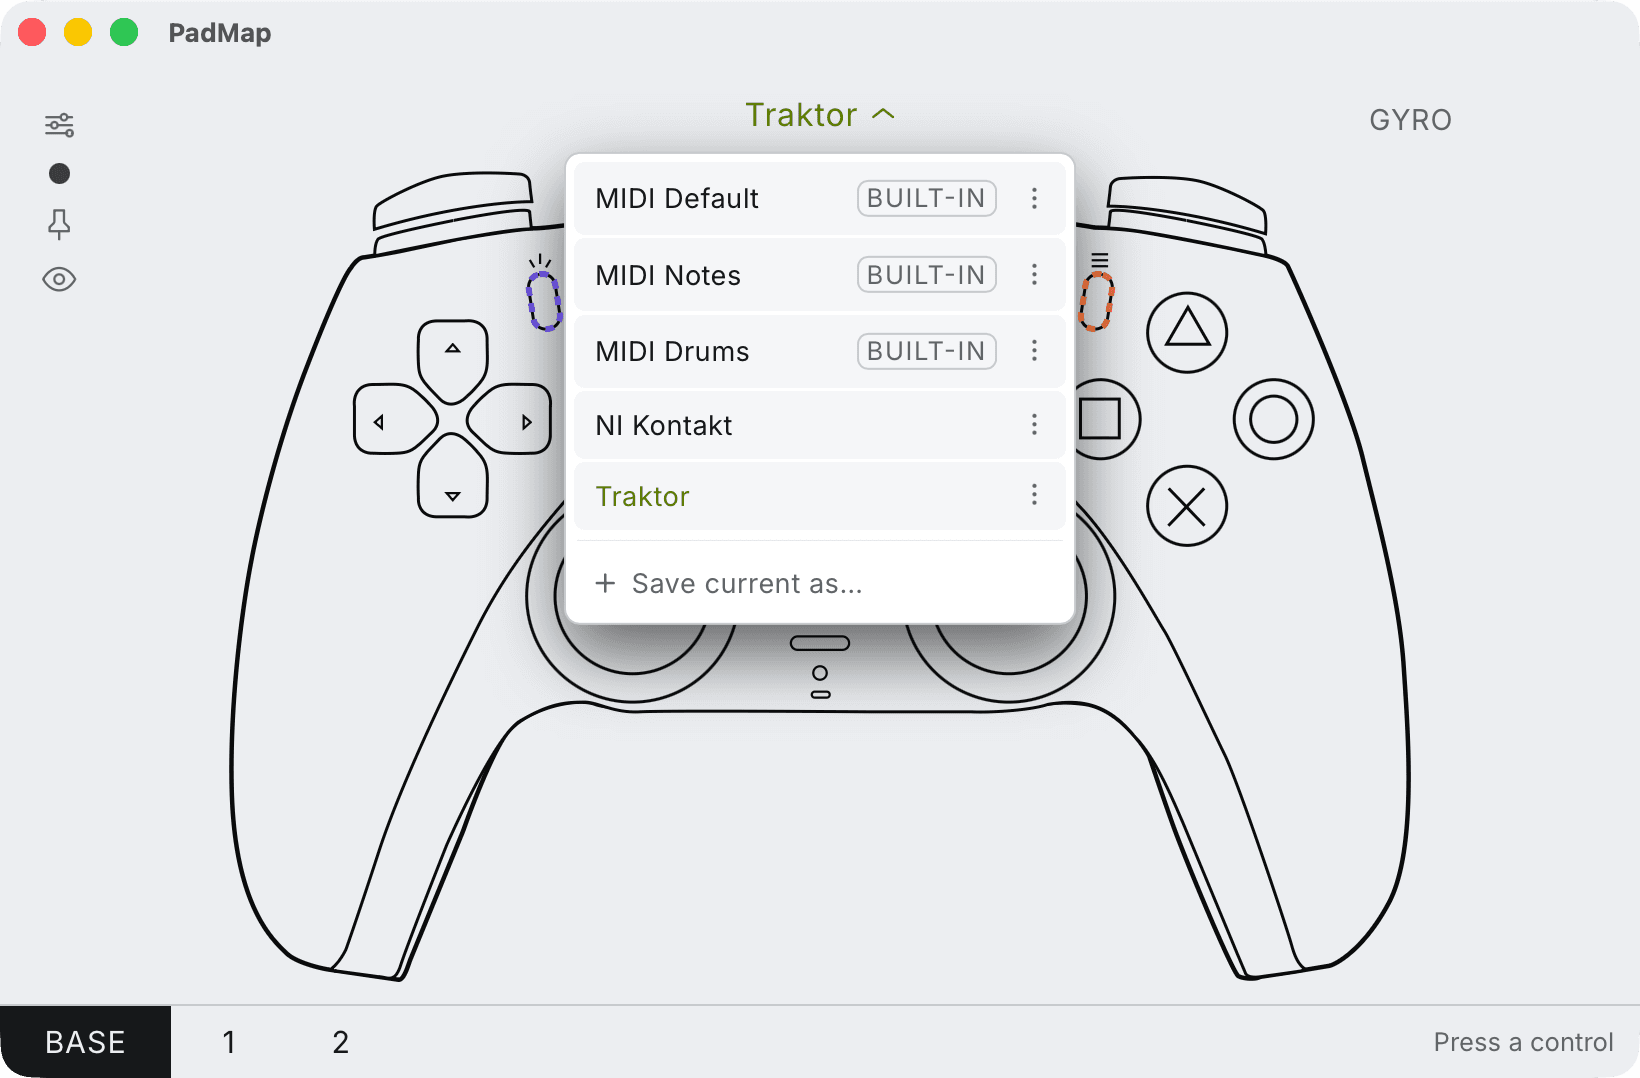
Built-in presets — MIDI Default, Notes and Drums — plus your own, saved with Save current as. - 2
Enable the PadMap input in Live
Open Live → Settings on macOS or Options → Settings on Windows (called Preferences in Live 11) and go to the Link, Tempo & MIDI tab. Under MIDI Ports, find the PadMap input — In: PadMap Out on macOS, or your loopMIDI port on Windows — and switch on Track (so notes reach your instruments) and Remote (so you can map controls to parameters). Leave the Control Surface slots at None — PadMap is a generic MIDI device, not a scripted surface. - 3
Play notes on an armed track
Create a MIDI track with an instrument or a Drum Rack, set its input to the PadMap port (or All Ins) and arm it. Any button you've mapped to a note in PadMap now plays it. A Drum Rack's bottom-left pad is C1 — MIDI note 36 — so mapping your face buttons to notes 36–39 gives you the first four pads. - 4
MIDI-map sticks and triggers to parameters
Press Cmd + M (macOS) or Ctrl + M (Windows), or click MIDI in the top right, to enter MIDI Map Mode. Click a parameter, move the stick or trigger you want on it, click the next parameter, and so on. Press the shortcut again to leave. Every assignment shows up in the Mapping Browser, where you can set its Min and Max.
What each control is good for in Live
A gamepad isn't a knob box, and the controls that feel best are the ones that use how a pad physically behaves:
| Control | Works well for |
|---|---|
| Left / right stick | Two parameters at once — X on filter cutoff, Y on resonance of an Auto Filter. Sticks spring back to centre, which makes them perfect for sweeps that snap back when you let go. |
| L2 / R2 triggers (LT / RT) | Anything that should rest at zero: send amount to a reverb throw, a Rack macro, a Beat Repeat chance. Pull to dive in, release to come back. |
| Face buttons | Notes — Drum Rack pads, chord stabs, or one-shots in a Simpler. |
| D-pad and shoulder buttons | Clip and scene launches in Session View, track arm, mute and solo via MIDI Map Mode. |
Make the sticks behave: Takeover Mode and ranges
Because a stick returns to the middle, a parameter mapped to it will jump to 50% the moment you touch it. Two settings tame that:
- In the Mapping Browser, narrow Min and Max so the full stick throw covers only the useful part of the range — say 30–90% of a filter cutoff.
- In Settings → Link, Tempo & MIDI, Takeover Mode decides what happens when a control and a parameter disagree. Pick-Up waits until the stick passes the current value; None jumps immediately, which is what you want for snap-back sweeps.
One pad, several jobs: layers
A pad only has so many buttons. In PadMap you can stack mapping layers and make any control a modifier — hold it and every button switches to a second set of notes or CCs. A common Live setup: the base layer plays a Drum Rack, and holding L1 turns the same face buttons into scene launches.
Because each layer sends different notes or CCs, Live's MIDI Map Mode treats them as separate controls, so you map the second layer exactly like the first.
Written by Oskar Schachtschneider, who builds PadMap at Sinuslabs.