
DAW setup · Updated
How to use a game controller as a MIDI controller in REAPER
Short answer
Run PadMap, open Options → Preferences → Audio → MIDI Inputs, enable the PadMap device and enable it for control messages too. Set an armed track's input to PadMap to play notes, use Param → Learn in an FX window for sticks and triggers, and bind buttons to actions in Actions → Show action list.
Set up your gamepad in REAPER
- 1
Run PadMap and connect the controller
Plug the pad in or pair it over Bluetooth, then start PadMap. On macOS the port, PadMap Out, shows up by itself. On Windows PadMap needs a virtual port from the free loopMIDI — REAPER's own user guide suggests loopMIDI for this too — so create a port named PadMap first. Launch PadMap ahead of REAPER so the device is there when REAPER opens its MIDI inputs.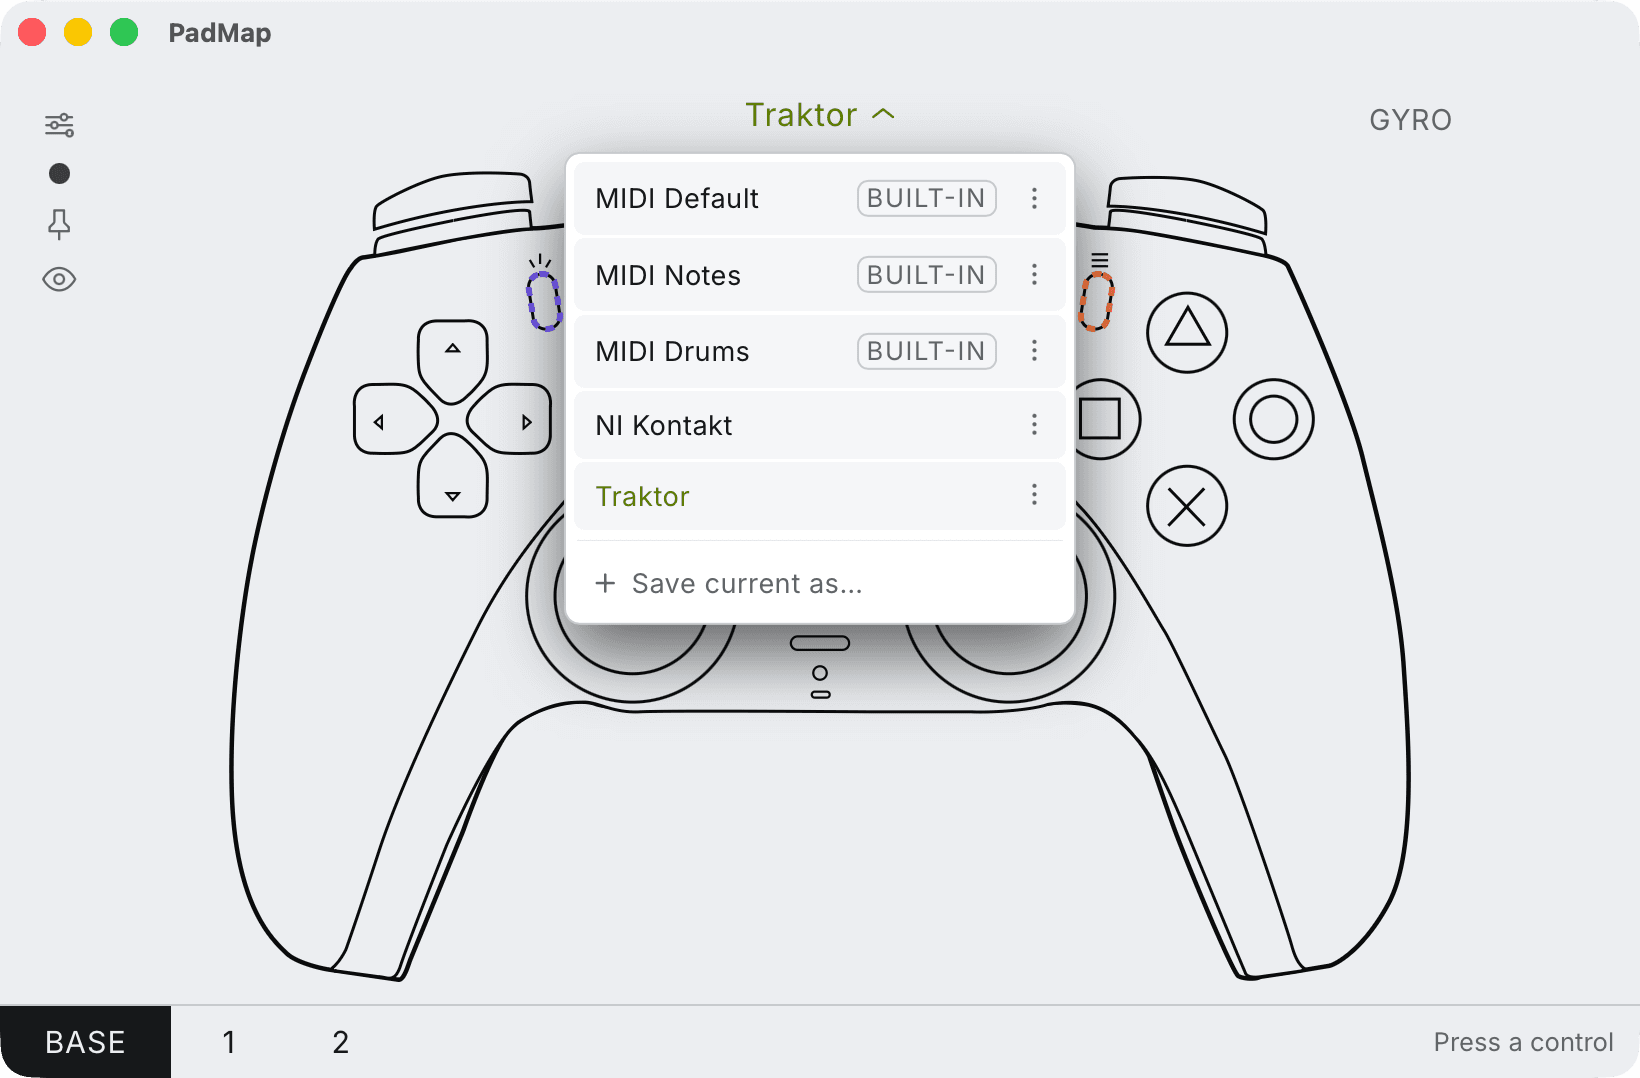
Built-in presets — MIDI Default, Notes and Drums — plus your own, saved with Save current as. - 2
Enable PadMap in REAPER's MIDI preferences
Open Options → Preferences (Ctrl + P on Windows) and go to Audio → MIDI Inputs. REAPER versions before 7.20 keep inputs and outputs together on one page called MIDI Devices. Right-click the PadMap device and enable its input for track recording. Right-click it again and choose Enable input for control messages — without it, MIDI learn and action shortcuts won't hear the pad. - 3
Play an instrument on an armed track
Insert a track and put an instrument in its FX chain — ReaSynth will do for a test. Arm the track, right-click the record-arm button and choose Input: MIDI → the PadMap port (PadMap Out on macOS) → All Channels, and check that Monitor input is ticked in the same menu. Buttons set to notes in PadMap now play the instrument. - 4
MIDI-learn sticks and triggers on FX parameters
In an FX window, touch the parameter you want with the mouse, click Param and choose Learn for the last-touched parameter. Move the stick or trigger; the dialog shows the channel and CC it received. Set the CC mode to Absolute, decide on soft takeover (more on that below) and click OK. - 5
Put actions on the d-pad and shoulder buttons
Open Actions → Show action list or press ?. Filter for the action you want, say Transport: Play/stop, select it and click Add. In the input window, untick Automatically close window on key/MIDI input so a slightly moving stick can't grab the slot, press the button on the pad, then click OK.
What each control is good for in REAPER
REAPER gives you three destinations for the pad's MIDI, and each control on a gamepad fits one of them better than the others:
| Control | Works well for |
|---|---|
| Left / right stick | Learned FX parameters, two per stick: X on the frequency of a ReaEQ band, Y on its bandwidth. The stick re-centres when released, so the sweep always lands back in the same place. |
| L2 / R2 triggers (LT / RT) | Parameters that should start from nothing: the wet amount of ReaDelay for echo throws, or a track's volume through one of the volume actions that accept MIDI CC. A trigger rests at zero and returns there when you let go. |
| Face buttons | Notes on an armed instrument track. Or learn one in Toggle mode to switch an effect's bypass on and off with each press. |
| D-pad and shoulder buttons | Actions. Play/stop, record, undo, markers — anything in the action list can sit on a button you press rather than hold. |
Learn settings that suit a gamepad
The MIDI/OSC Learn dialog has a few options that change how the pad feels:
- Soft takeover holds the parameter still until the control passes its current value. That stops jumps on triggers, but leave it off for sticks so the parameter follows the stick from the first touch.
- Enable only when effect configuration is focused (or visible) lets the same stick control a different plug-in depending on which FX window is in front. One right stick can drive an EQ, then a compressor, without remapping anything.
- Once a plug-in has learned mappings, the Param menu gains Default controller mappings → Save as default. Every new instance of that plug-in then loads with your pad already mapped.
REAPER quirks worth knowing
- REAPER has its own joystick option: Add virtual MIDI → Add joystick MIDI on the MIDI Inputs page, where a processing script decides what the controller sends. PadMap is the no-script route: you set what each control sends in the app, add layers, and the same setup works in every other DAW you open. Pick one per pad — with both running, two sources react to every press.
- If a button bound to an action also plays a note on an armed track, move that action to a different PadMap layer or disarm the track while you work.
- REAPER runs on Linux, but PadMap only runs on Windows 10/11 and macOS.
Layers and REAPER's action list
Because any button can trigger any action, a gamepad runs out of buttons quickly in REAPER. PadMap's layers solve that: stack layers and make a control such as L1 a modifier, so holding it switches the whole pad to a second set of notes and CCs. A useful REAPER split is a performance layer that plays instruments and sweeps FX, and an editing layer where the face buttons run actions like undo, split and add marker.
REAPER sees each layer's messages as different input, so you learn and bind the second layer the same way — hold the modifier while you move the control in the Learn or Add window.
Written by Oskar Schachtschneider, who builds PadMap at Sinuslabs.