
Controller + DAW · Updated
How to use an Xbox controller as a MIDI controller in Ableton Live
Short answer
Connect the Xbox controller (USB or Bluetooth on Windows, Bluetooth on a Mac), run PadMap, then in Live open Settings → Link, Tempo & MIDI and switch on Track and Remote for the PadMap input. Press Cmd/Ctrl + M to map LT, RT and the sticks to any parameter.
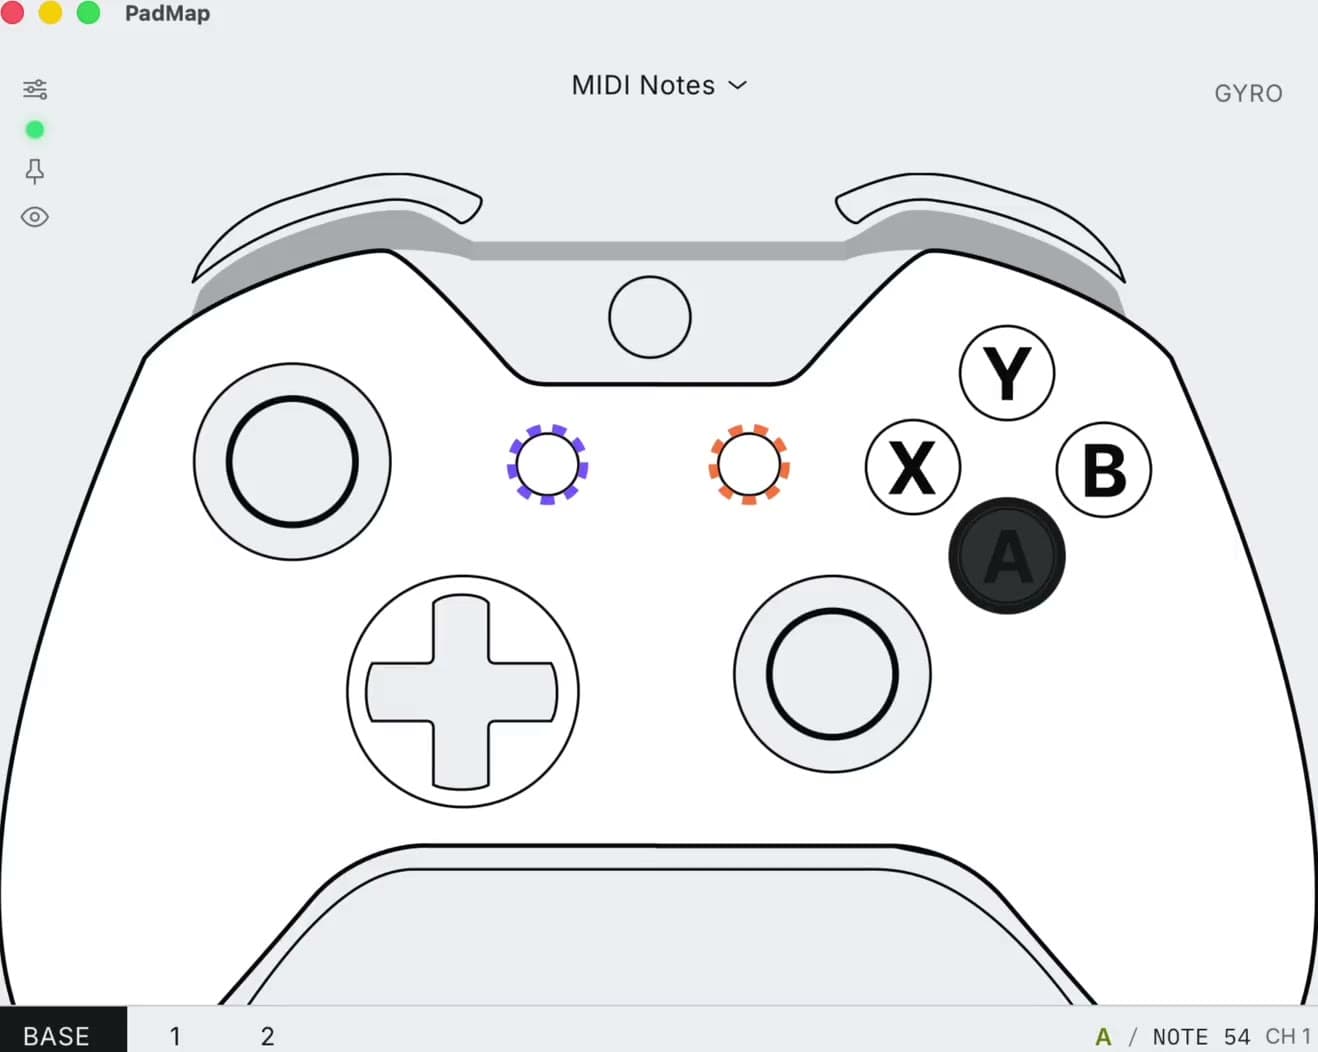
Set up an Xbox controller in Ableton Live
- 1
Connect the Xbox controller
On Windows, plug it in with a USB data cable, or pair it over Bluetooth: press the Xbox button, hold the pair button on the top edge until the Xbox button flashes quickly, then add Xbox Wireless Controller under Settings → Bluetooth & devices. On a Mac, use Bluetooth; Microsoft doesn't support USB on Apple devices. The Xbox controller guide covers models and pairing in detail. - 2
Open PadMap and map the pad
Open PadMap before Live. On macOS its MIDI port appears as PadMap Out. On Windows it sends through a free loopMIDI port, so create one called PadMap and pick it in PadMap. Set A, B, X and Y to notes 36, 37, 38 and 39, and LT, RT and both sticks to CC. - 3
Enable the PadMap input in Live
Open Live → Settings on macOS or Options → Settings on Windows (Preferences in Live 11) and go to Link, Tempo & MIDI. Under MIDI Ports, find the PadMap input and switch on Track and Remote. Leave the Control Surface slots at None. - 4
Play a Drum Rack from A, B, X and Y
Add a Drum Rack to a MIDI track and arm it. The rack's bottom-left pad is C1, MIDI note 36, so with the notes from step 2, A, B, X and Y play the first four pads. Kick on A and snare on B puts the two hits you alternate most under one thumb. - 5
Map LT, RT and the sticks
Press Cmd + M (macOS) or Ctrl + M (Windows) to enter MIDI Map Mode. Click a parameter, pull a trigger or move a stick, and repeat for the next one. Press the shortcut again to leave. Set each mapping's Min and Max in the Mapping Browser.
A starting layout for Live
One layout that works for playing and performing with the same pad:
| Xbox control | In Live |
|---|---|
| A, B, X, Y | Drum Rack pads 1–4 (notes 36–39). |
| LT | Send A on your drum track, into a reverb. Pull for a throw, release and it's gone. |
| RT | A Rack macro. Put a filter and a little drive on it and RT becomes one build-up control. |
| Left stick | X on Auto Filter frequency, Y on resonance. It returns to centre when you let go. |
| Right stick | Two more parameters, for example delay feedback and delay time. |
| D-pad | Scene launch up and down, or four clip slots, through MIDI Map Mode. |
| LB / RB | Modifiers for a second PadMap layer. |
| View / Menu | Stop and play. |
Leave the Xbox button unmapped: Windows uses it to open Game Bar.
Why not a Max for Live device?
There are Max for Live devices that read a gamepad inside Live. They need Live Suite or the Max for Live add-on, and they only exist while that Live set is open.
PadMap runs outside Live and sends plain MIDI, so it works in Intro, Lite and Standard as well as Suite, and the same mapping carries over to another DAW. Live's own MIDI Map Mode does the assigning, the way it does for any controller.
Xbox specifics that affect mapping
- Triggers are analog. LT and RT report how far you pull them, so they suit CC. In Live's Mapping Browser, set Min to where the parameter should rest.
- Sticks jump to the middle. A stick rests at 50%. Narrow Min and Max so that centre is a useful value, and set Takeover Mode to None for sweeps that should snap back.
- Rumble works, lights and gyro don't. PadMap's rumble feedback works on Xbox controllers. Xbox pads have no light bar and no motion sensors; for tilt control you need a PS5 controller.
- Steam can grab the pad. If PadMap doesn't react, close Steam and reconnect the controller.
Written by Oskar Schachtschneider, who builds PadMap at Sinuslabs.