
DAW setup · Updated
How to use a PS5 or game controller with Cubase MIDI Remote
Short answer
Run PadMap, check the PadMap port under Studio → Studio Setup → MIDI Port Setup, and set an instrument track's input to it to play notes. For control, open the MIDI Remote tab, add a MIDI controller surface that learns the sticks and triggers, then map them to Focus Quick Controls or any function in the Mapping Assistant.
Set up your gamepad in Cubase
- 1
Open PadMap with the controller connected
Connect the pad by USB or Bluetooth and start PadMap. macOS gives PadMap its MIDI port, PadMap Out, automatically. Windows needs a loopMIDI port named PadMap — follow the loopMIDI guide once and it's done. Start PadMap before Cubase so the port is in place when Cubase builds its MIDI port list.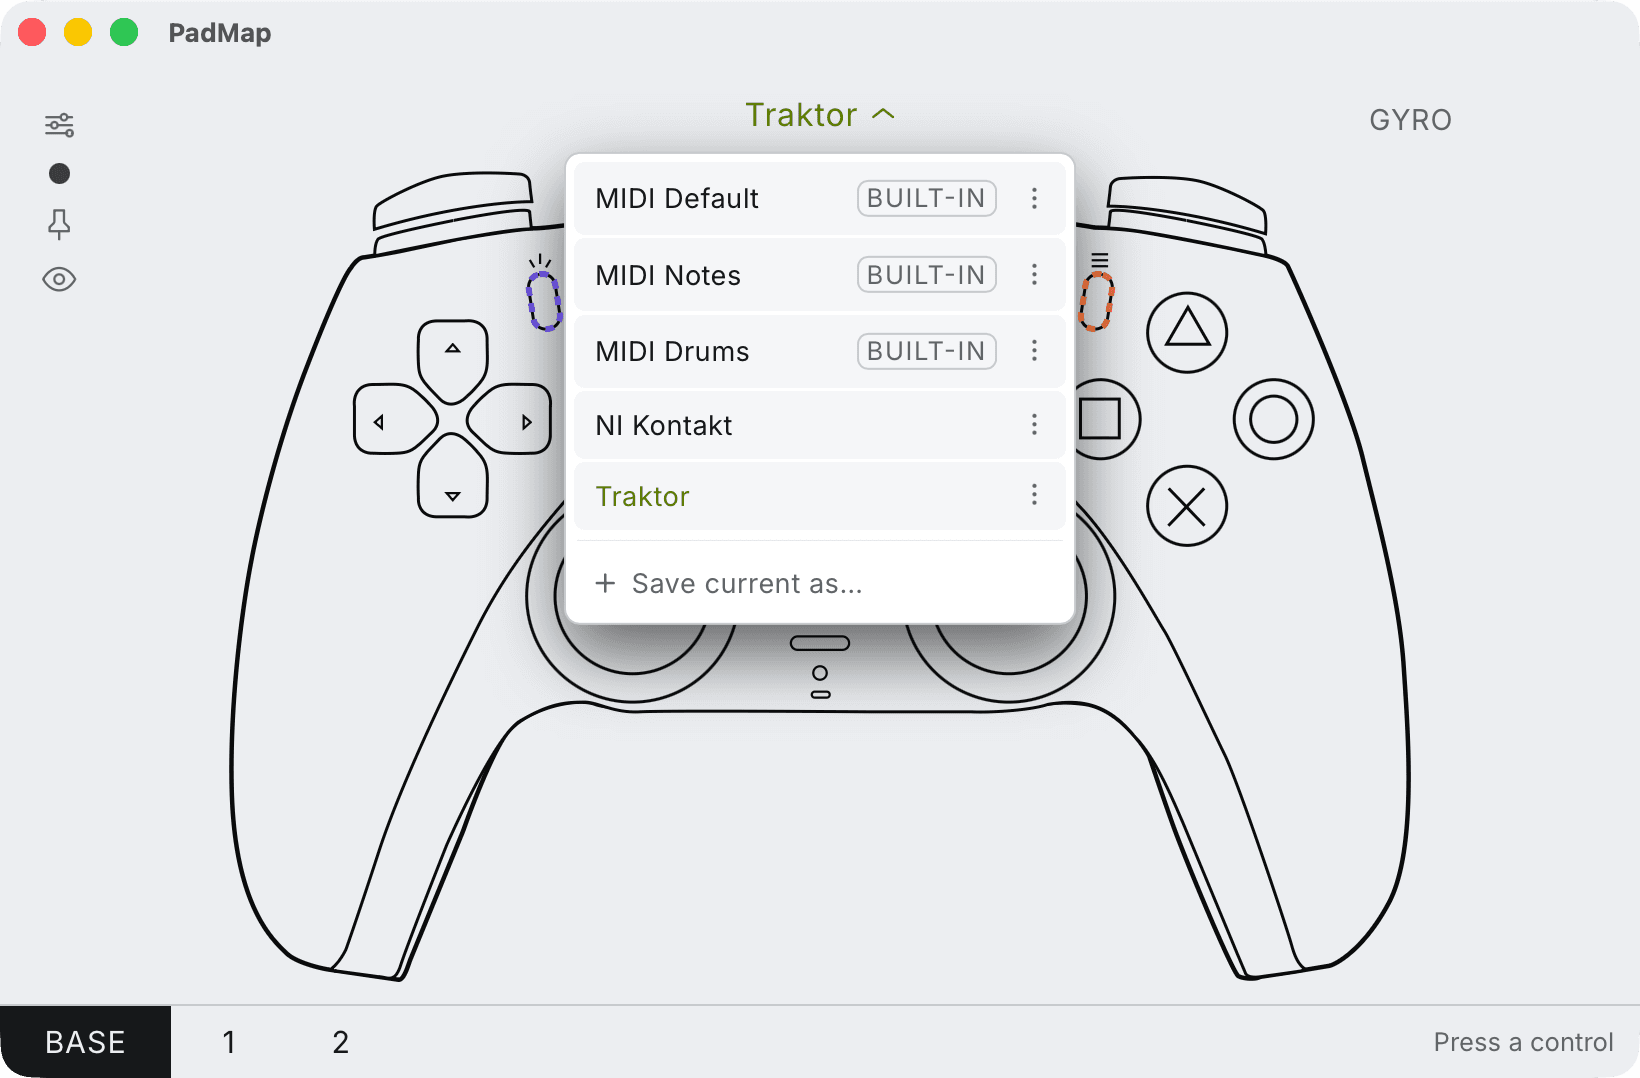
Built-in presets — MIDI Default, Notes and Drums — plus your own, saved with Save current as. - 2
Check the port in MIDI Port Setup
Go to Studio → Studio Setup and select MIDI Port Setup in the Devices list. The PadMap port should be listed and Visible. Steinberg suggests switching off In 'All MIDI Inputs' for ports you use for remote control, so stick movements don't get recorded onto every track listening to All MIDI Inputs. If you do that, choose the PadMap port directly as a track's input in the next step. - 3
Play an instrument from the buttons
Select an instrument track, open the Input Routing pop-up menu at the top of the Inspector and choose the PadMap port (or All MIDI Inputs). Record-enable the track — or turn on Enable Record on Selected MIDI Track in Preferences → Editing → Project & MixConsole — and buttons set to notes in PadMap play the instrument. - 4
Build a MIDI Remote surface for the pad
Show the lower zone and click the MIDI Remote tab, then Add MIDI Controller Surface. Pick or add a vendor, type a model name such as PadMap (no special characters), set Input Port to the PadMap port and click Create MIDI Controller Surface. In the editor, choose a control type — Fader for a trigger, Button for a d-pad direction, X/Y Joystick for a stick — and move the matching control on the pad to learn it. - 5
Map controls in the Mapping Assistant
Click Open MIDI Remote Mapping Assistant on the Project window toolbar. Touch a control on the pad, then pick a function: browse the Functions Browser, or right-click any parameter in Cubase and choose Pick for MIDI Remote Mapping. Click Apply Mapping and move on to the next control.
What each control is good for in Cubase
Most of the pad ends up on MIDI Remote mappings, but the shape of each control still decides what it should drive:
| Control | Works well for |
|---|---|
| Left / right stick | Focus Quick Controls. Put stick X and Y on two of them and the stick follows the selected track or the plug-in window in front. Since the stick snaps back to centre, the controlled values settle back as soon as you let go. |
| L2 / R2 triggers (LT / RT) | One mapped parameter with a narrow Min. Value / Max. Value, such as a send level or a filter in a plug-in. The trigger rests at zero, so the effect only exists while you hold it. |
| Face buttons | Notes into an instrument track. Mapped through MIDI Remote with the Toggle value mode instead, they work as mute or solo switches. |
| D-pad and shoulder buttons | Key command mappings for start, stop and record, or an action mapping that flips the surface to another mapping page. |
Value modes, ranges and Quick Control focus
Select a mapping in the Mapping Assistant to see its Mapping Configuration. The settings that matter for a gamepad:
- Value Mode: Jump follows the control immediately, which suits a stick. Pickup waits until the control reaches the parameter's value, Scaled closes the gap gradually, and Toggle turns a button press into on/off.
- Min. Value and Max. Value limit how far a full stick or trigger throw moves the parameter. Invert Minimum and Maximum flips an axis that feels upside down.
- Audio, MIDI and instrument tracks each have eight Track Quick Controls, and on instrument tracks they come pre-assigned to the instrument's own Quick Controls. To change what the Focus Quick Controls follow, click Quick Control Focus Setup on the MIDI Remote info line and choose Track and Plug-in Window Focus (the default), Track Focus Only or Plug-in Window Focus Only.
Cubase quirks worth knowing
- If a stick that should be resting keeps grabbing the Mapping Assistant, activate Bypass MIDI Controller Learn Mode and select controls by clicking them on the surface instead.
- Mappings you make by picking a parameter in Cubase usually get Project scope, while functions chosen in the Functions Browser get Global scope. Change it per mapping with Mapping Scope.
- Once a surface uses the PadMap port, the Usage column in MIDI Port Setup shows the surface's name. Leave the note buttons off the surface — they're for playing, not remote control.
- If a control won't learn, select it in the surface editor and click MIDI Monitor in its Properties, then move the control so Cubase picks up the message.
Layers: PadMap layers and Cubase mapping pages
You can multiply the pad's controls from either side. In PadMap, stack mapping layers and make a control such as L1 a modifier: holding it switches every control to a second set of notes and CCs. Add those second-layer controls to the MIDI Remote surface too, and Cubase treats them as extra hardware controls with their own mappings.
Cubase has its own version of the idea: a surface can hold several mapping pages, and an action mapping on a button switches between them. A clean split is to let PadMap layers change what the pad plays — drums on one layer, chords on another — and let Cubase mapping pages change what the sticks control, say mixing on one page and an instrument on the next.
Written by Oskar Schachtschneider, who builds PadMap at Sinuslabs.