
Controller + DAW · Updated
How to use a PS4 controller as a MIDI controller in Ableton Live
The DualShock 4 in your drawer already has what a small MIDI controller offers: buttons for notes, two analog triggers, two sticks and a gyro. Ableton Live can't read it directly, so PadMap translates. It sends every control as a MIDI note or CC, and Live maps it the way it maps any controller. You don't need Max for Live, and it works in Live 11 and 12.
Short answer
Connect the DualShock 4 by micro-USB or Bluetooth, run PadMap, then in Live open Settings → Link, Tempo & MIDI and switch on Track and Remote for the PadMap input. Press Cmd/Ctrl + M and map L2, R2, the sticks and the gyro to any parameter.
Set up a PS4 controller in Ableton Live
- 1
Connect the DualShock 4
Use a micro-USB cable that carries data (many only charge), or pair over Bluetooth: hold Share and the PS button until the light bar flashes, then select the controller in your Bluetooth settings. Full steps are in the PS4 DualShock 4 guide. - 2
Open PadMap and map the pad
Open PadMap before Live. On macOS the MIDI port is PadMap Out; on Windows, create a loopMIDI port and choose it in PadMap. Set Cross, Circle, Square and Triangle to notes 36–39 and L2, R2 and the sticks to CC.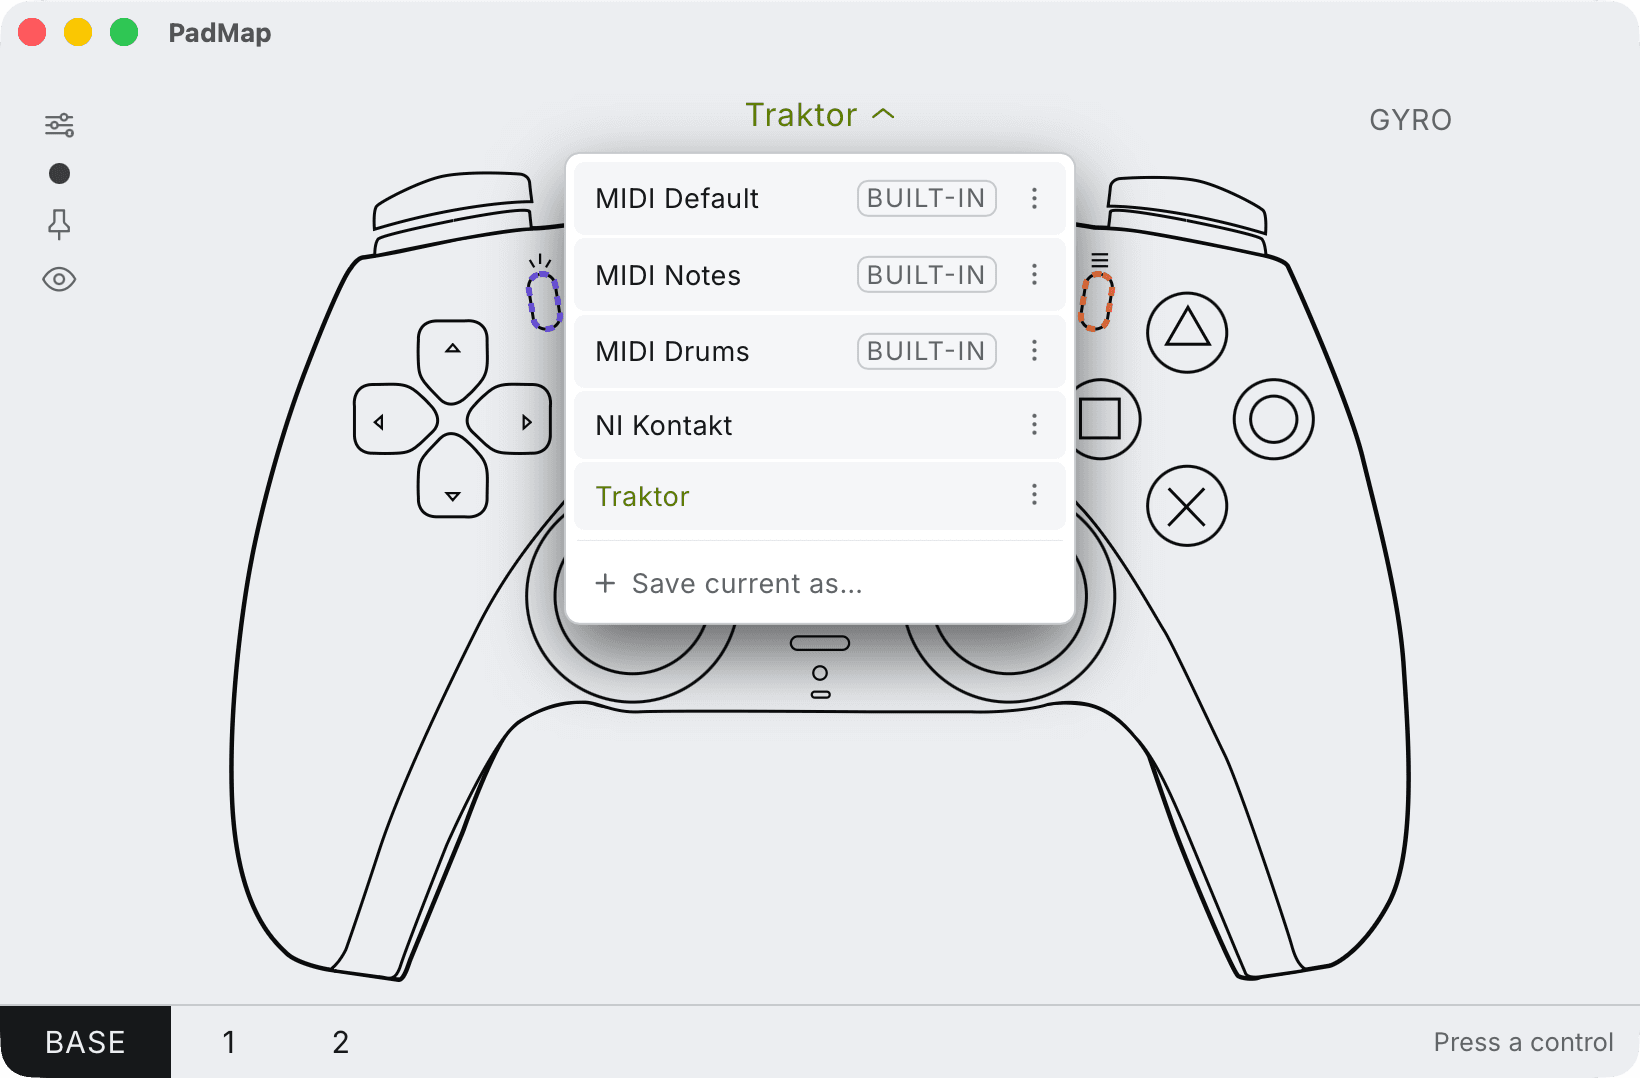
Built-in presets — MIDI Default, Notes and Drums — plus your own, saved with Save current as. - 3
Enable the PadMap input in Live
In Live → Settings (macOS) or Options → Settings (Windows; Preferences in Live 11), open Link, Tempo & MIDI and switch on Track and Remote for the PadMap input. - 4
Play a Drum Rack and map parameters
Arm a MIDI track with a Drum Rack and the face buttons play its first four pads. To map a parameter, press Cmd + M or Ctrl + M, click the parameter, move L2, R2 or a stick, then press the shortcut again.
A starting layout for Live
| DualShock 4 control | In Live |
|---|---|
| Cross, Circle, Square, Triangle | Drum Rack pads 1–4 (notes 36–39). |
| D-pad | Clip slots or scene launches. |
| L2 | A reverb or delay send that rests at zero. |
| R2 | A Rack macro for build-ups. |
| Left stick | Auto Filter frequency and resonance. |
| Right stick | Two more parameters of your choice. |
| Gyro | Tilt to steer a filter or pan, hands still on the buttons. |
| L1 / R1 | Modifiers for a second PadMap layer. |
| Share / Options | Stop and play. |
Tilt control with the DualShock 4 gyro
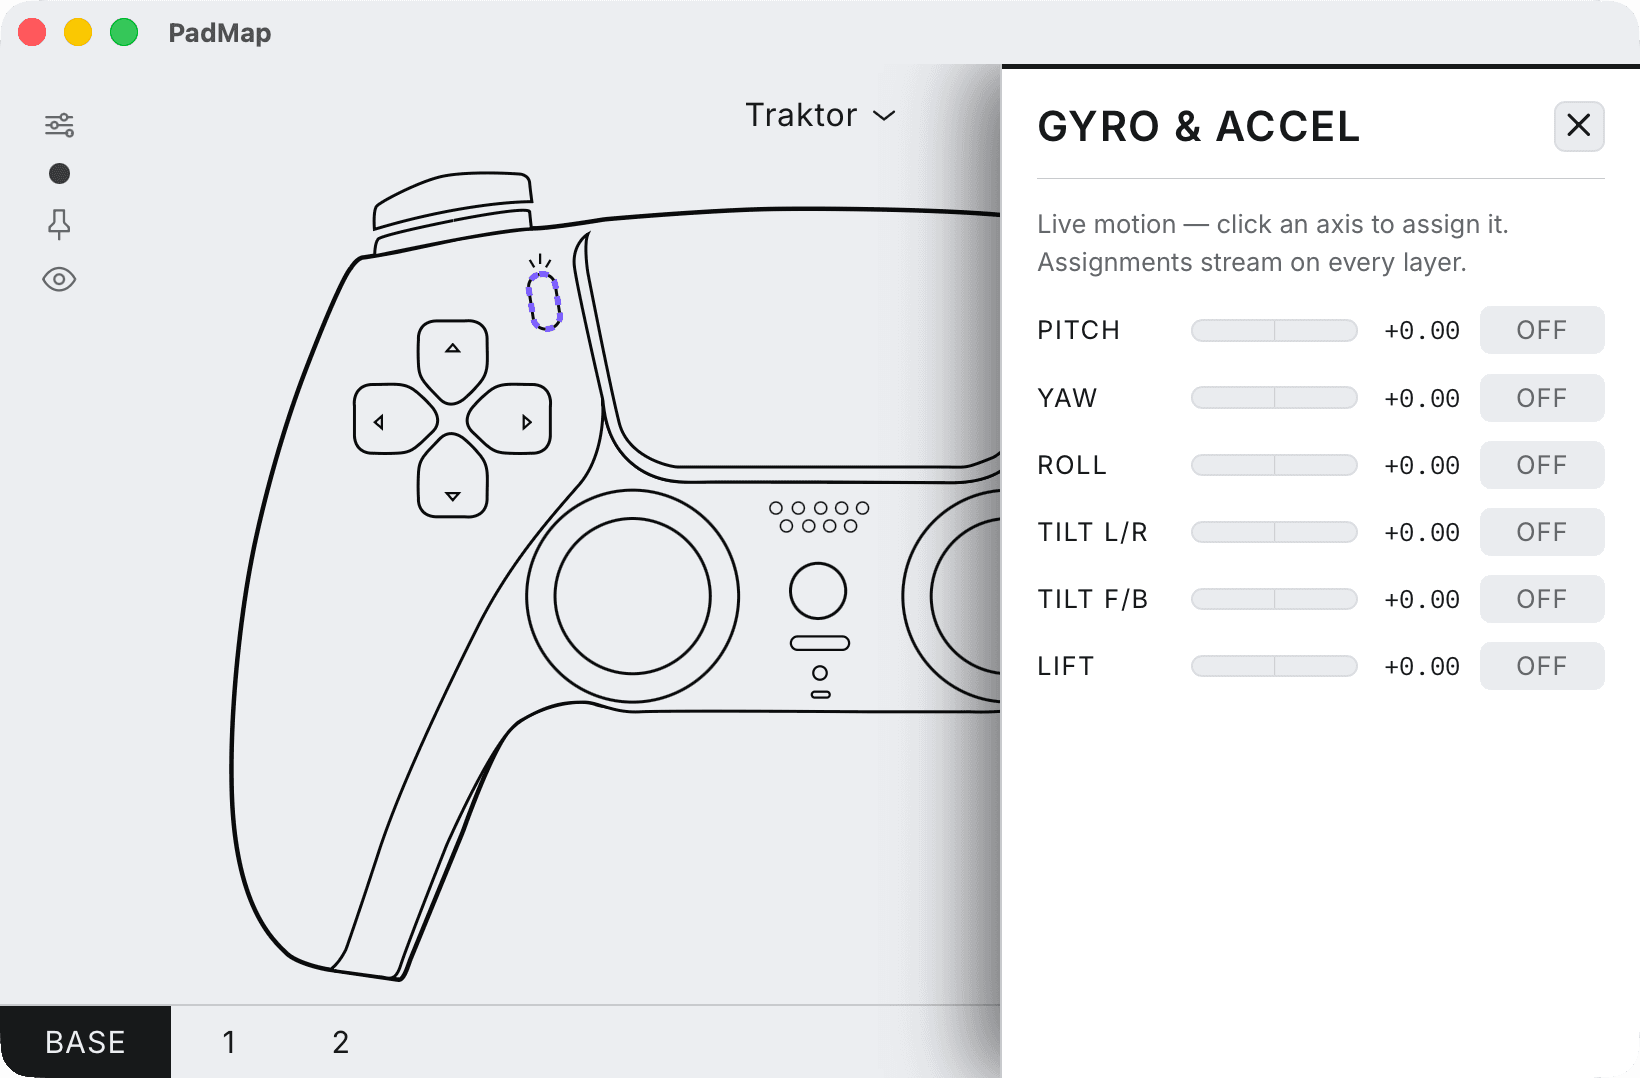
PadMap reads the DualShock 4's motion sensors. Open Gyro in PadMap, pick an axis (pitch, yaw, roll, tilt left/right, tilt forward/back or lift) and it sends CC as you move the controller.
In Live, enter MIDI Map Mode, click a parameter and tilt the pad. Hold the controller still while you map the other controls, or Live will pick up the movement instead. The gyro guide goes deeper.
DualShock 4 notes for Live
- Mac and Windows. PadMap with a DualShock 4 is tested on both. Sony supports the controller on macOS Catalina and later.
- Light bar and rumble. PadMap colour-codes the light bar to your mapping and adds rumble feedback, both over Bluetooth.
- Takeover Mode. Sticks rest in the middle. Set Live's Takeover Mode to None for sweeps that snap back, and narrow each mapping's Min and Max in the Mapping Browser.
- Port missing? Start PadMap first, then Live. Quit Steam and DS4Windows if PadMap doesn't react to the pad.
Written by Oskar Schachtschneider, who builds PadMap at Sinuslabs.